Laser Scanning for CAD and Revit
Using Point Clouds for design work in CAD and Revit models. Scan data can play an important if not vital role in the accuracy of creating as-built models. Kohera3D’s Scan-To-Plan laser scanning and modeling solutions are designed to not only increase the accuracy in modeling, but to make the CAD modeler/designer’s job easier and highly productive.
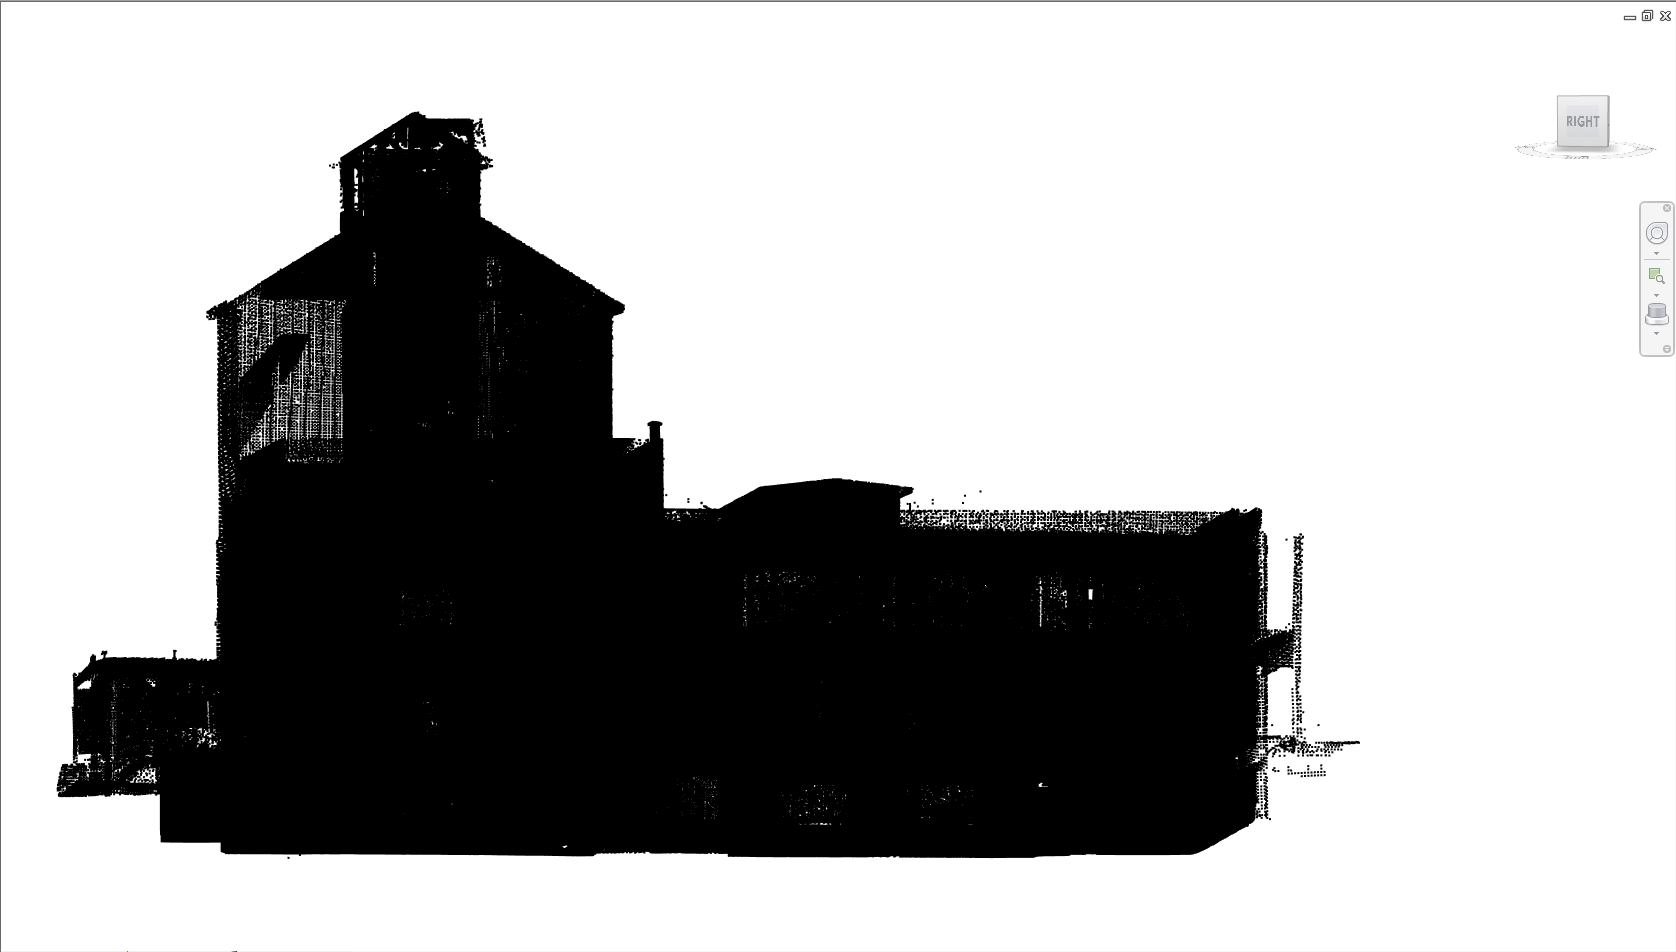
3D laser scans are often necessary for high accuracy as-builts, but they are not always easy to work with. Kohera3D’s point cloud isolation is a laser scanning classification process which can take away much of the headache and frustrations that come with modeling inside a busy point cloud filled with millions of scan points. We often refer to this point cloud as “the blob” and quite honestly it feels like one too.
Once the scan data has been isolated into individual layers, designers can then easily turn the viewing of items on or off. This enables one to focus only on what needs to be modeled, such as viewing only the walls in a building while modeling the walls, or to model a pipe run without having surrounding data block your current view.
To summarize, isolation removes the challenges of working inside a “blob” of scan data by turning into a “smart” point cloud where the scan data is manageable and easy to work with.
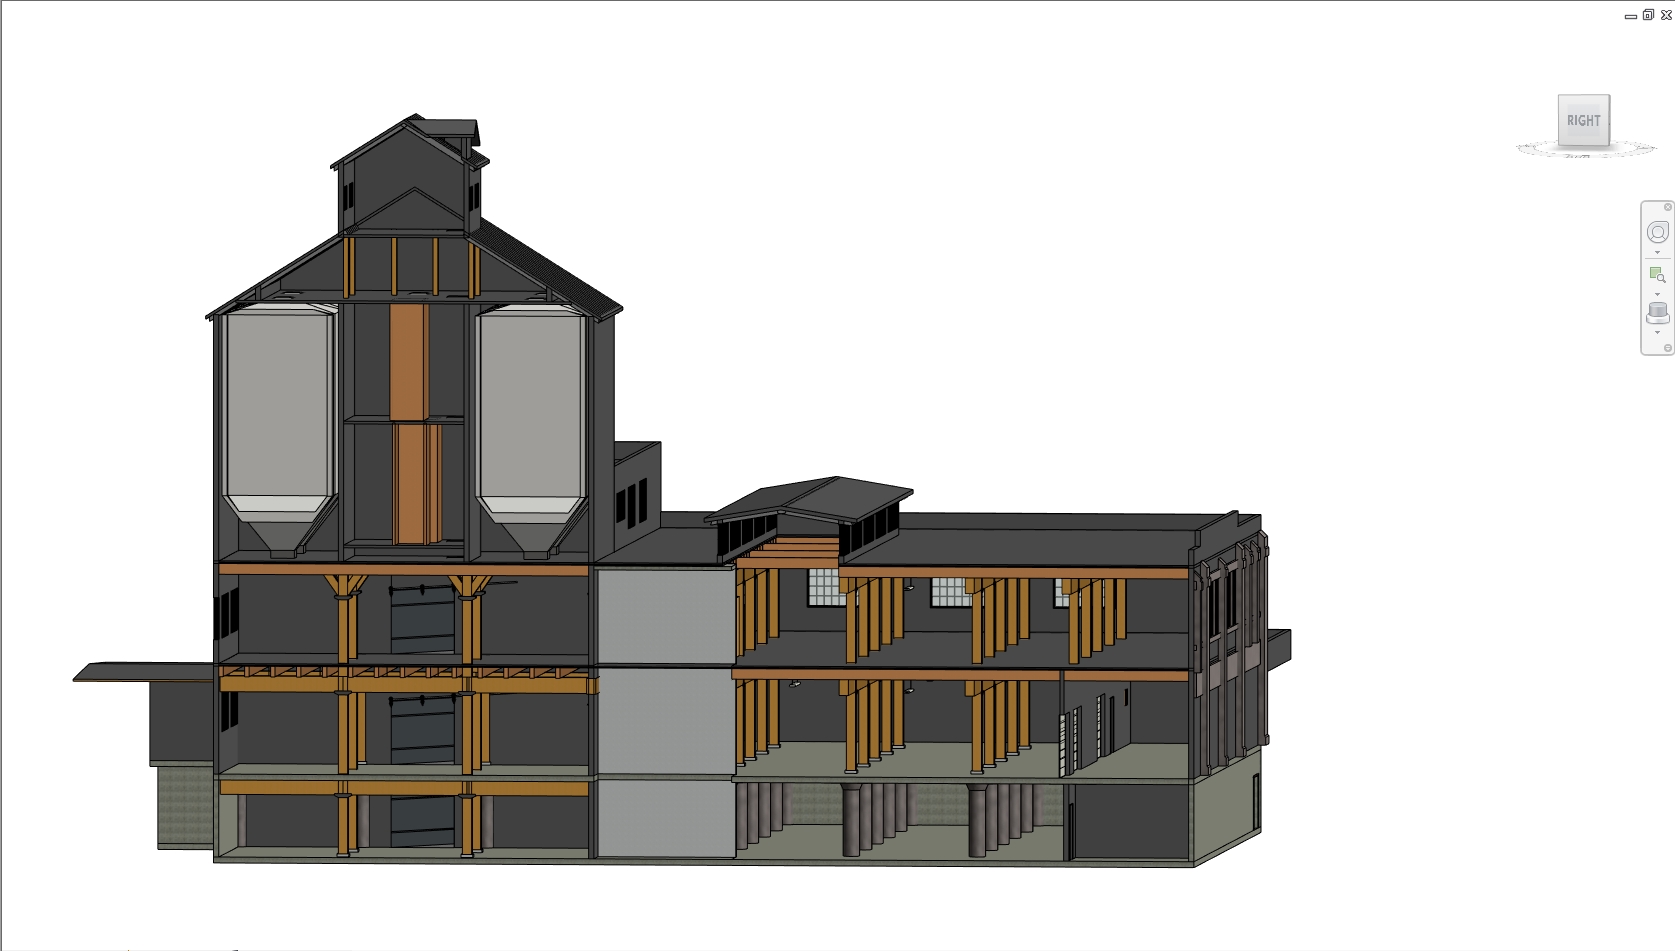
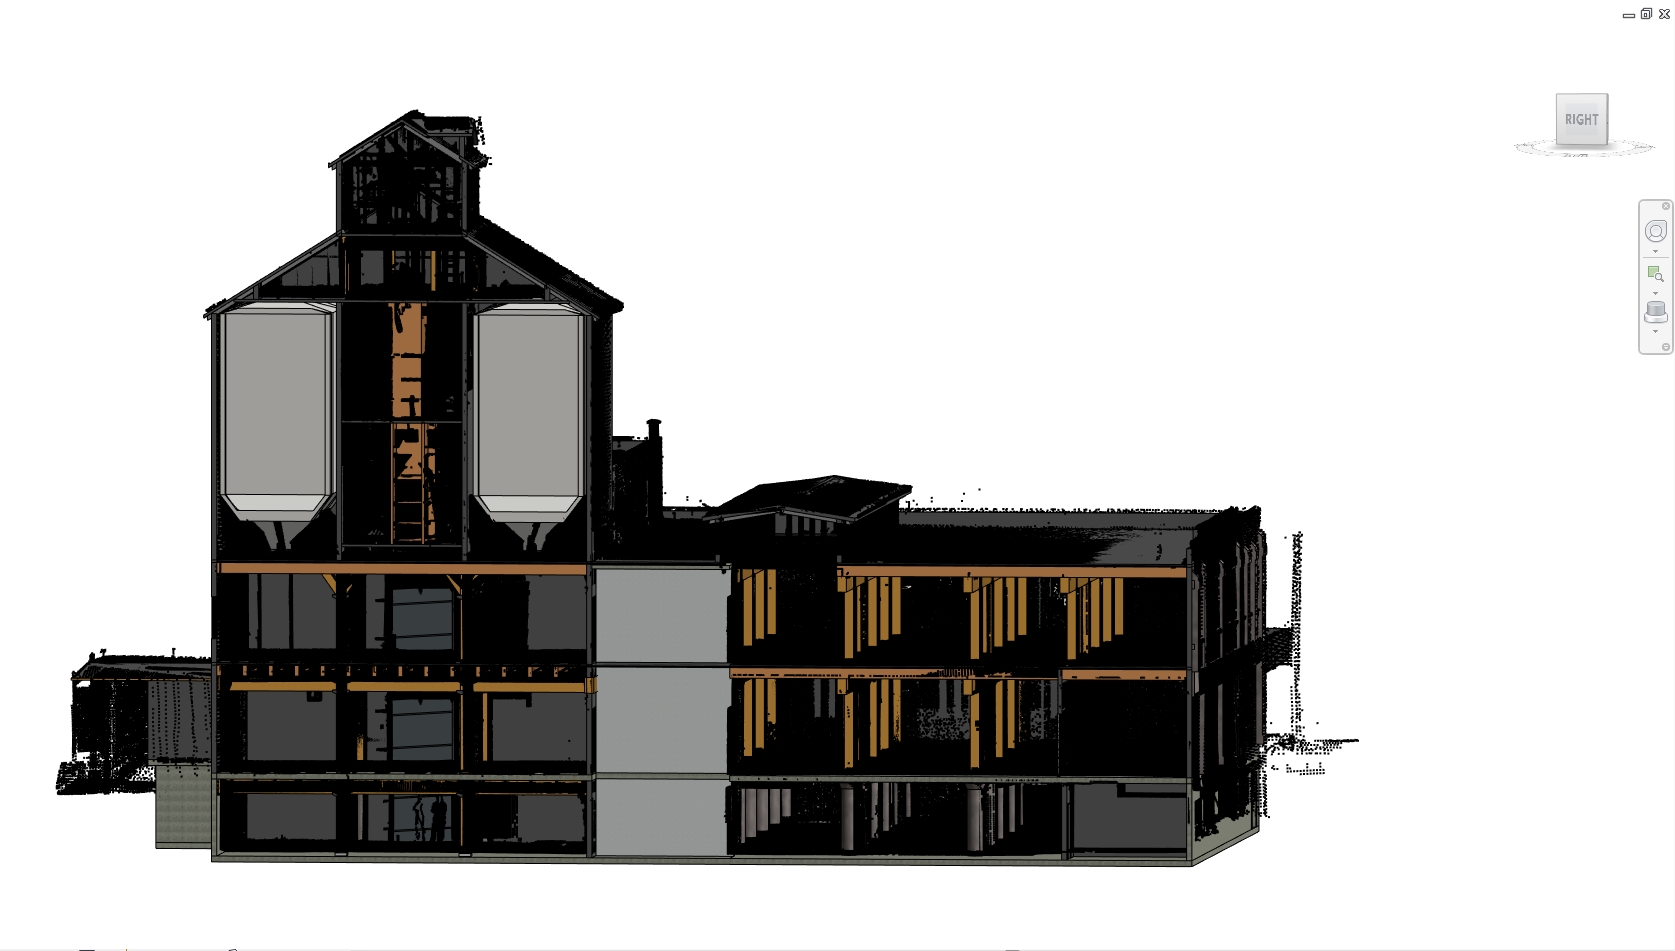
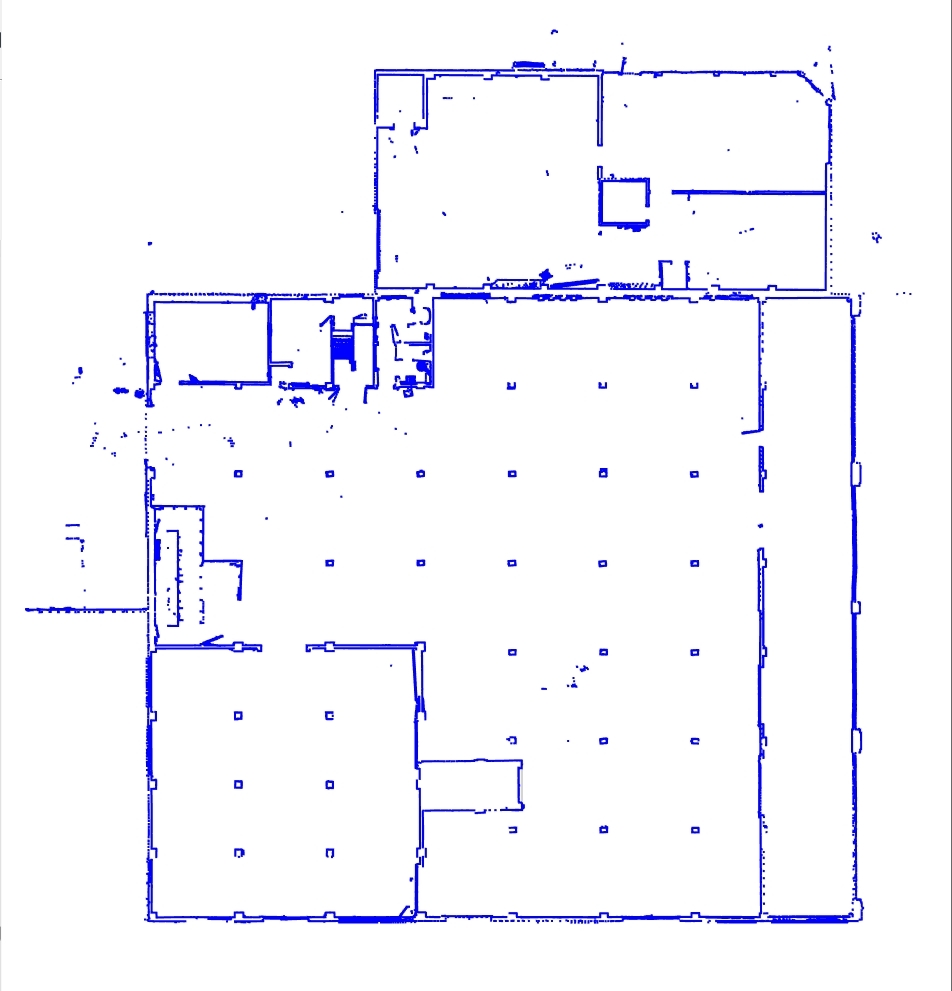
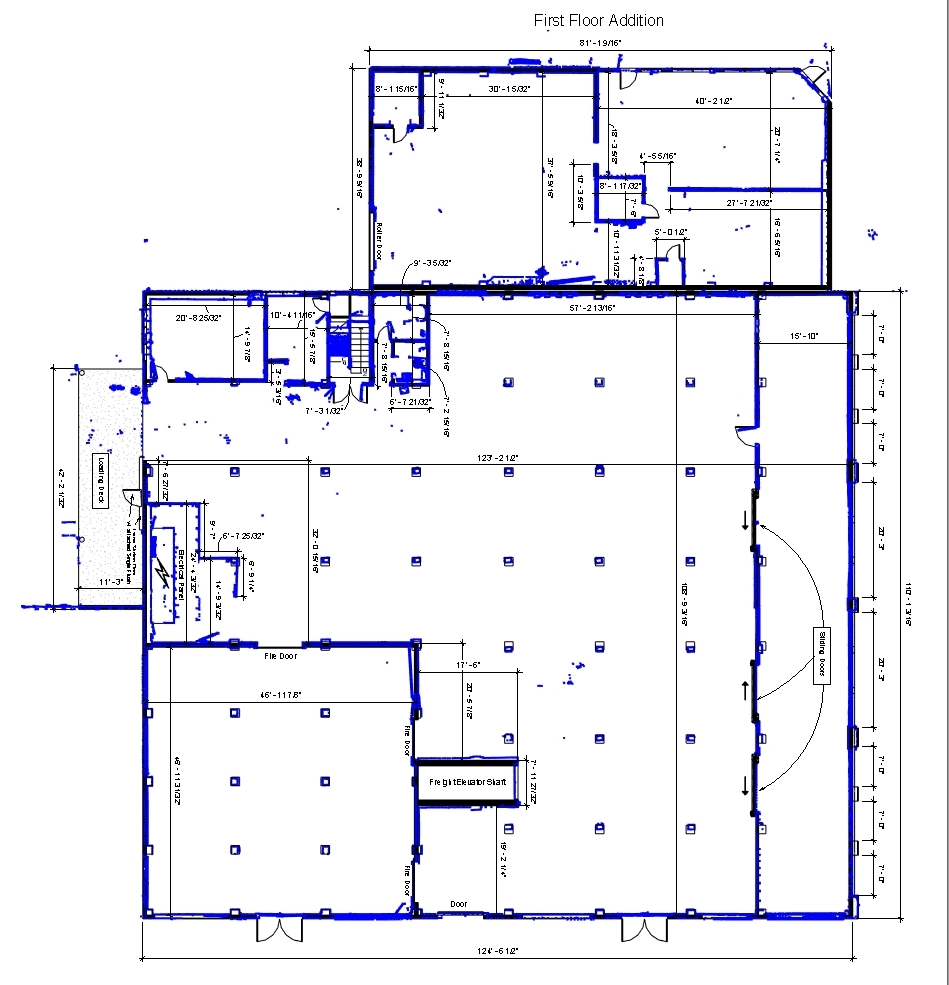
An isolated point cloud was used to model the building below.
Exterior elements surrounding the building have been turned off from view. Walls, floors, ceilings, and columns are also assigned their own layers which too can be turned on or off which greatly aids in the process of modeling separate components. Note: Video above shows this process in detail.
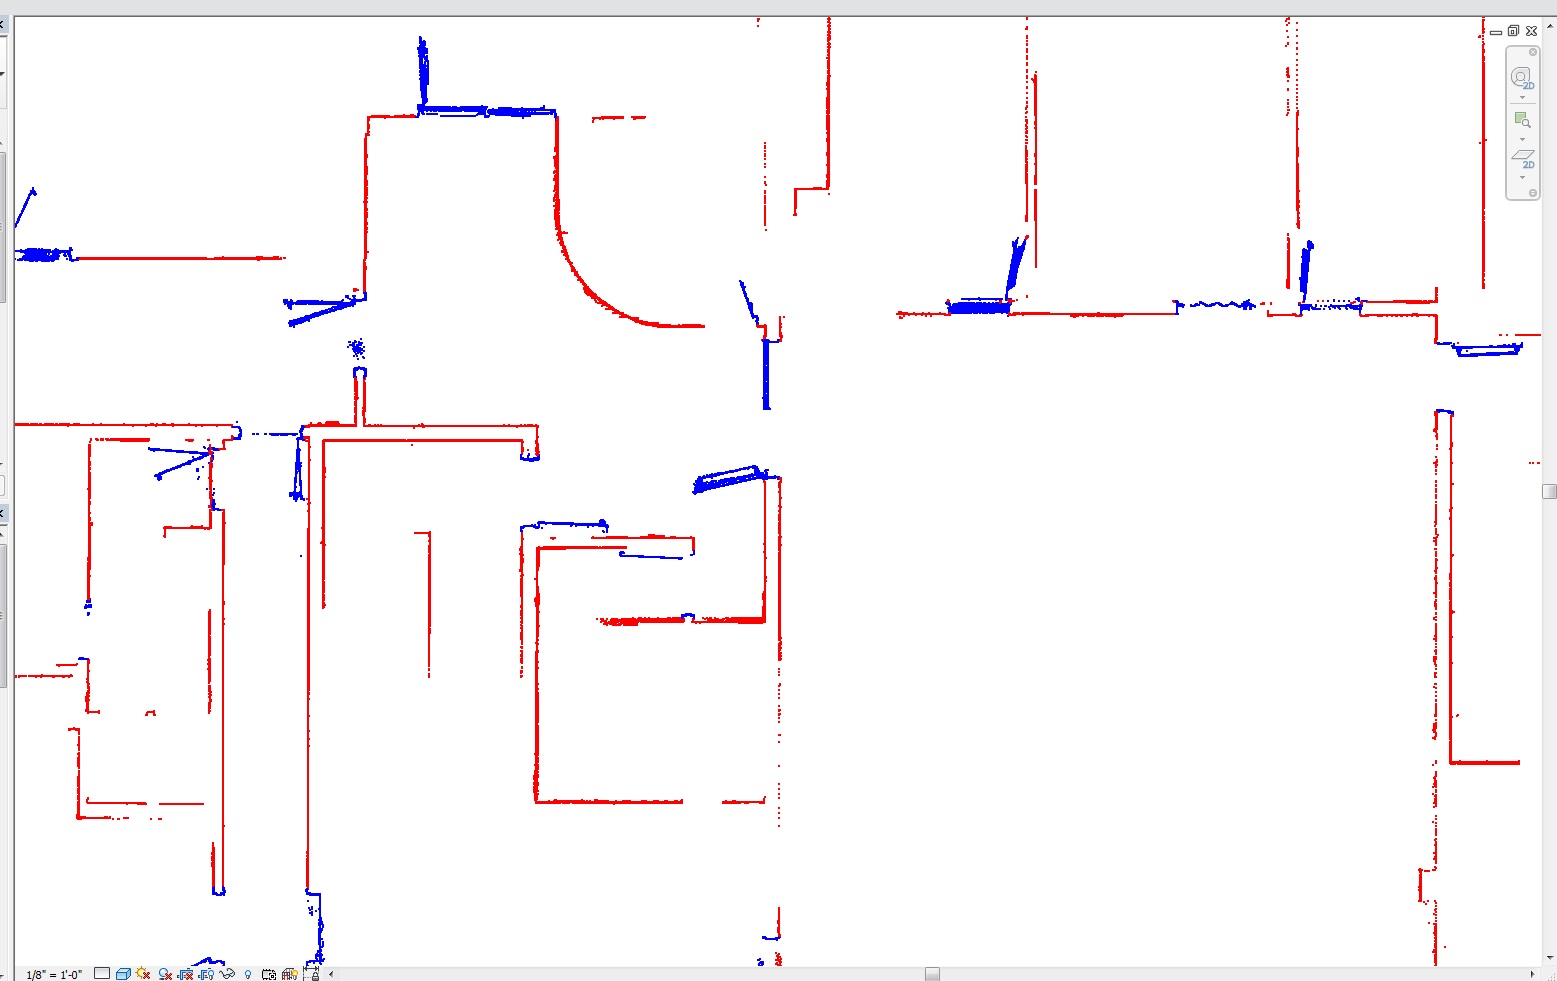
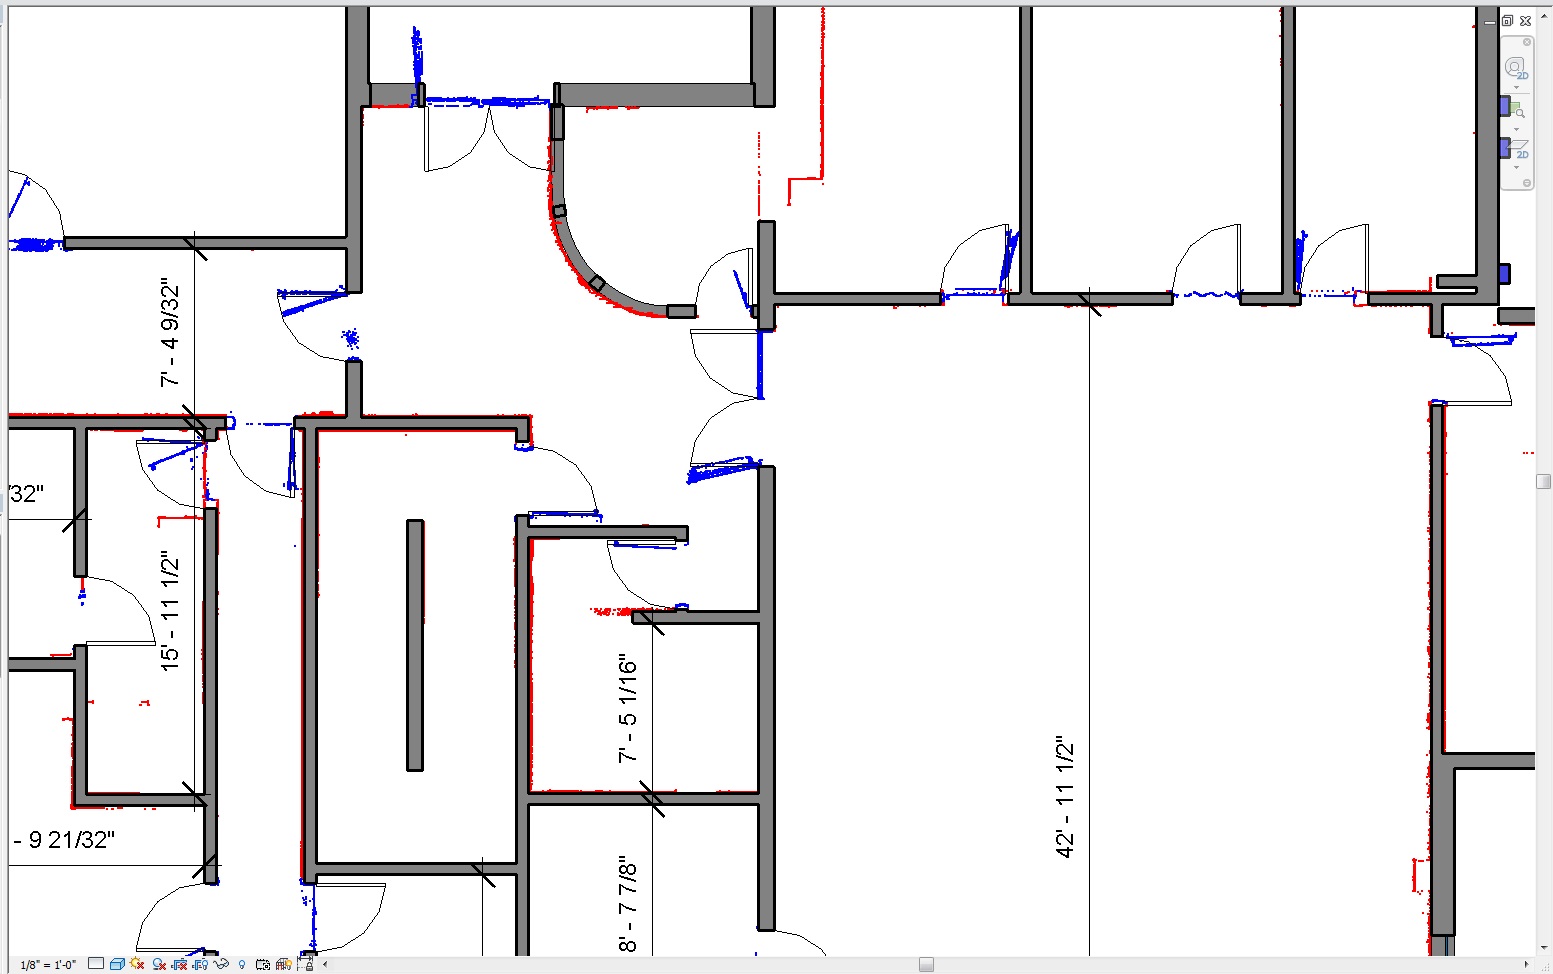
In an isolated point cloud, walls and doors can have their own layers.
The wall layer is colored red and the doors have been colored blue. Modeling in CAD or Revit when a point cloud has been isolated into layers allows the designer to focus on a chosen area without clutter or blockage from other items in the scan data. Here we were able to turn off the doors to model only the walls, then turn the doors back on and install them to their correct location as seen inside the point cloud. Note: If the doors are open during the scanning, their swing direction will be seen as well.
Example 1
Example 2


