Batch Point Cloud Export
The Batch Point Cloud Export dialog is for exporting one or more scans as different file formats, or to export selected portions of scan data as either a single file or as multiple files.
How to Export Scan Data
1. Right mouse click inside the 'Scene' window to pull up the context menu and select 'Batch Point Cloud Export' (keyboard shortcut Alt+E).

2. Choose an 'Export File Type' from the pull down and select a 'Destination Folder'.
3. File Name Key. If combining the export as a single file this will become the name of the file. If not combining the export, this will be added to the end of the file name that already exists. ![]() Note this field can not be left empty.
Note this field can not be left empty.
4. Export Points. Choose which points to include in the export.
- Selected Points - These are points a user selects using one of the four Area Selection tools, or by selecting points in a Point Group.
- Unselected Points - Excludes selected points.
- All Points - Exports both selected and unselected points.
5. Combining
- One File Multiple Scans - Export will combine all scans into a single file.
- None Multiple Files - Export will keep each scan as a separate file.
There are additional options to change the axis and add a prefix or suffix to a file name. The most important option, however, is setting the Subsample value. Remember, a lower number equals more points which also means a larger file size.
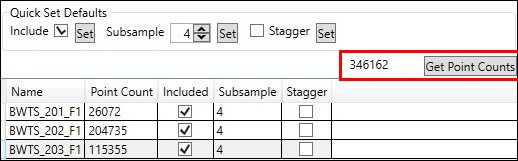
Under 'Quick Set Defaults“,
6. Adjust Subsample to the desired setting and press the 'Set' button.
Using the “Get Point Counts' button, one can, for example, see the difference between a Subsample 1 and a Subsample 4 setting.

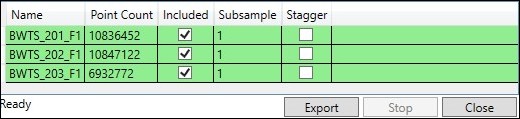
7. Press the 'Export' button. The rows will turn green when completed.